Have you ever thought what people actually do after visiting your website, which page content is engaging your website visitors and from what source they come to know about your website.
Google Analytics can solve your above query by simply installing Google Analytics in WordPress by using Plugin or directly add Google Analytics code in website.
After installing code on your Website, you can start collecting the data immediately.
In this article, you will learn
- How to Install Google Analytics in WordPress using Plugin
- How to Add Google Analytics code in website without using any WordPress Plugin
Before solving the above query, We should know why Google Analytics is Important?
After starting a blog, every people wants to drive lots of traffic, subscribers, conversions and more on their website.
Google Analytics helps you across devices and platforms to understands your website users and accordingly you can work on your website to convert visitors into customers.
What Can You Track by using Google Analytics?
Whether you are looking for details about what your customers do after visiting your website, times spent on website, bounce rate pages, which page engage your visitors most.
This tool allow you to track customer locations along with the sources from which your visitors visits your website.
These information is crucial to understand your customer and then you can plan your content strategy.
How to Signup with Google Analytics
- Visit Google Analytics official website to signup and then click on ‘Get Started Today’ button

2. Once you sign in with your Gmail Account, you will be redirected to welcome screen. Click on ‘Start Measuring’ button

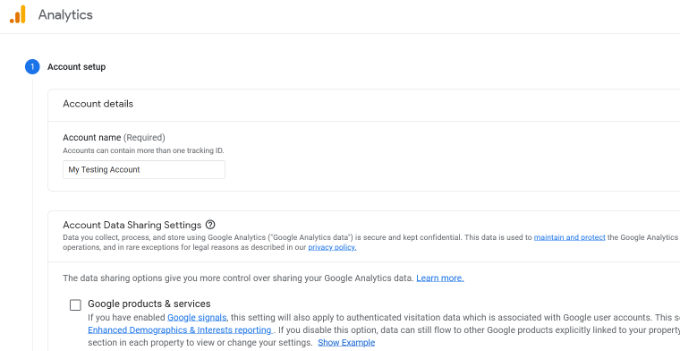
3. Next, you will be redirected to the page where you need to do Account setup. Provide Account name to recognize your account.
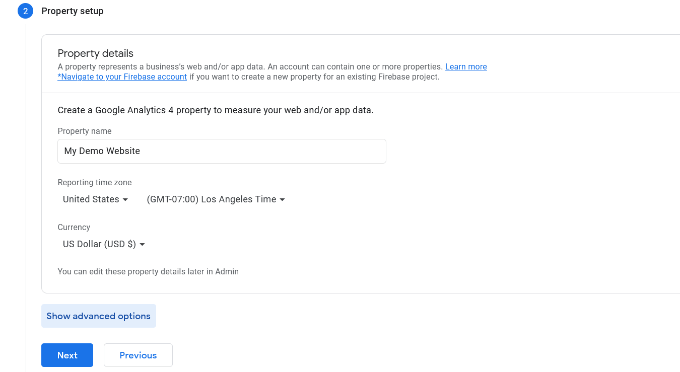
4. After creating account, you need to create Google analytics property.
Google introduced GA4 to track website and App in the same account along with many features.
If you are new in Google Analytics setup then recommend to GA4 (Google Analytics 4) and if you have Universal analytics code then recommend to switch to GA4 immediately because Universal Analytics going to drop by Google on July,1, 2023.
Now, step forward to set up property name, reporting time zone and currency and then click on ‘Next’ button.
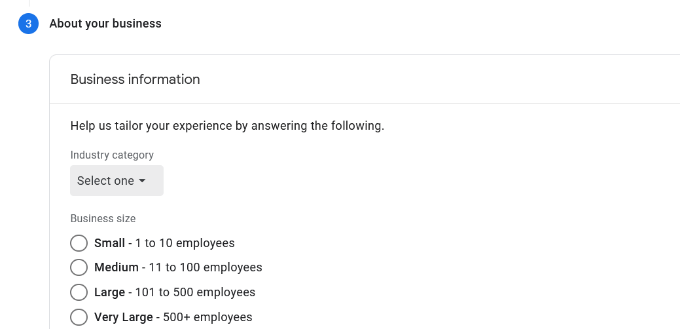
5. Next, you will need to select Industry category from the drop down menu and choose ‘Business Size’ from the given options.
6. You will need to scroll down and select how you plan to utilize Google Analytics with your business like optimize advertising cost, measure content monetization, measures customer engagement and many more.
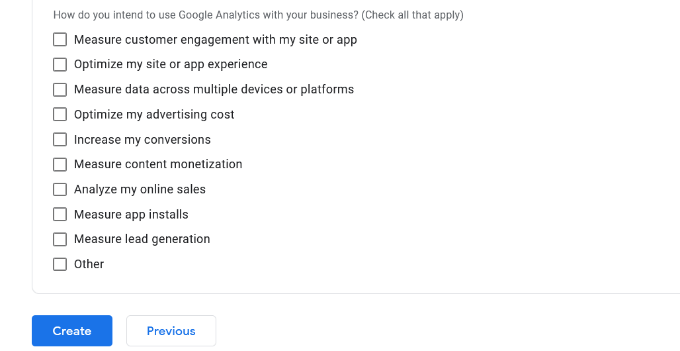
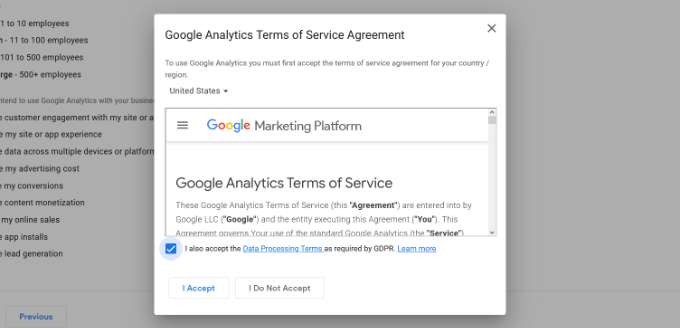
7. After clicking on ‘Create’ button, a popup will open and you need to agree the Google Analytics Terms of Use agreement.
In the popup window, you need to select the checkbox ‘I also accept the Data Processing Terms as required by GDPR’ After that click on ‘I Accept’ button.
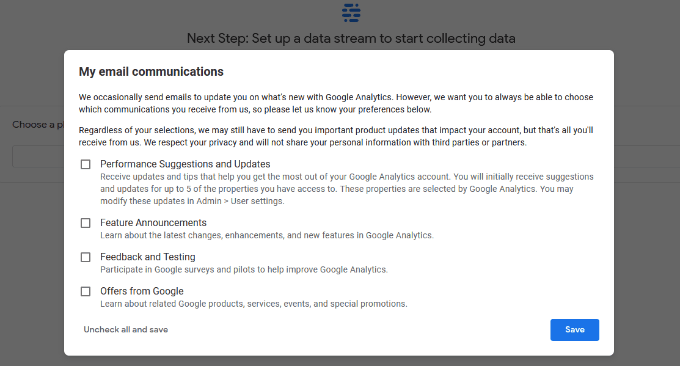
8. After accepting the Terms, new popup will open with options on which communication you prefer to receive from Google Analytics. Select the checkboxes and click on ‘Save’ button.
9. After setup property, you need to choose web stream options.
You need to choose ‘Web’ because in this articles we are setting up for the WordPress website. If you are setting up for App then choose App.

Next, need to enter your website URL and stream name.
Google Analytics enables enhanced measurement option by default to track pageviews, outbound clicks and more.

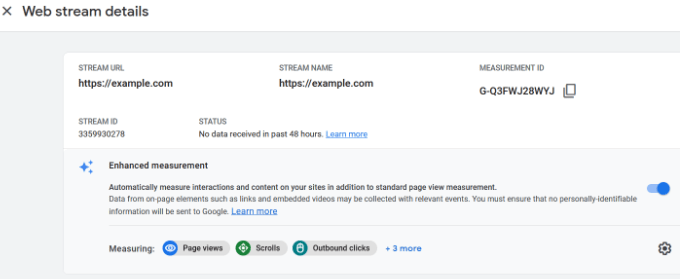
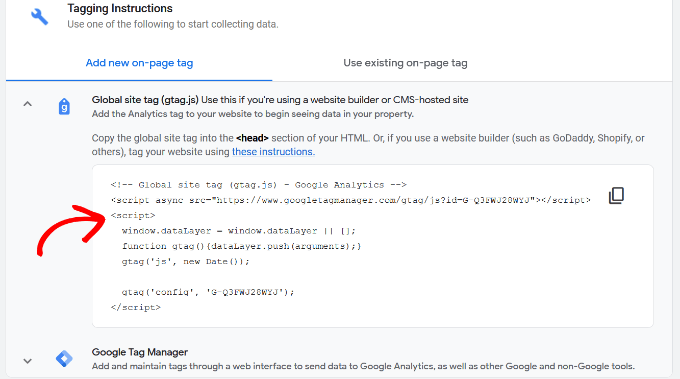
After measurement id generates, Google Analytics will show you the different options to add Analytics code to your website.
Choose ‘Global site tag from Tagging Instruction’ section (gtag.js) to find tracking code. Copy tracking code and add in your WordPress website.
Now we will dive in to learn how to install Google Analytics code.
How to Install Google Analytics in WordPress
There are many methods available to install Google Analytics in WordPress. You can pick the one that suits you the most.
Note: Don’t use the 2 different method to add Analytics code in website because this leads to double tracking of pageviews in your Google Account and you will not get the exact user behavior on your website.
Method 1: Install Google Analytics in WordPress Using Plugin
You can find many popular Google Analytics plugin for WordPress.
Among many, MonsterInsights is one of the best and most popular Google Analytics plugin for WordPress. It is available as both, free and premium plugin.
In this article, I am using the free version.
You can use the MonsterInsights Premium version if you want more advanced features like ecommerce tracking, Ads tracking etc.
Let’s Dive in….
1. You need to install and activate the MonsterInsights Plugin.
If you are new in WordPress and don’t know to install plugin then see our guide on how to install a WordPress plugin.
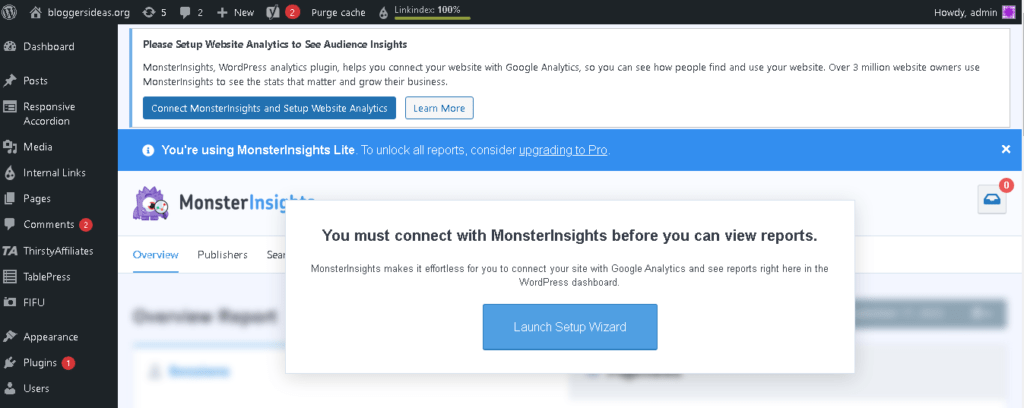
After activation, you will find new menu added in your WordPress dashboard i.e Insights
After clicking on ‘Insights’, click on ‘Launch Wizard’ button.
After clicking on setup wizard, you need to choose a category in which your website falls like Business website, Blog or ecommerce store).
Choose one which suits your WordPress website and then click on ‘Save and Continue‘ button.

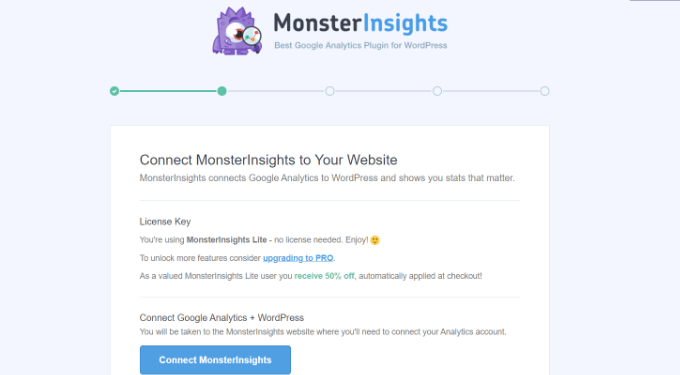
Next, you need to connect MonsterInsights with your WordPress website. Click on ‘Connect MonsterInsights‘ button to connect with your WordPress.
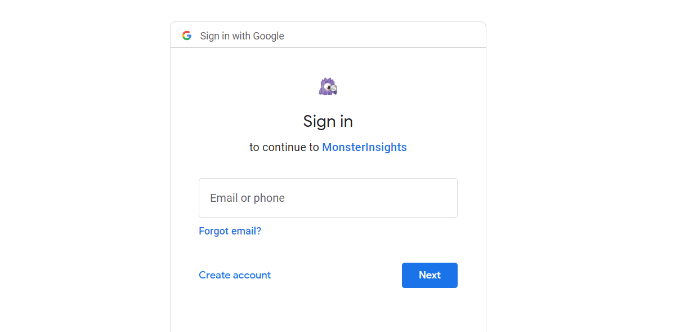
Next, after clicking connect button you will be redirected to Google account, where you will be asked to sign in or select your existing accounts to login.
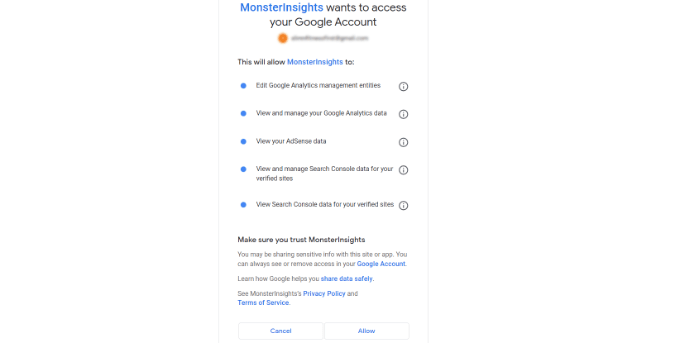
Next, you will be asked to allow MonsterInsights to access your analytics account. Click on Allow button.
After allowing, you need to complete connection to continue.
Just select your website and then click on the ‘Complete Connection‘ button
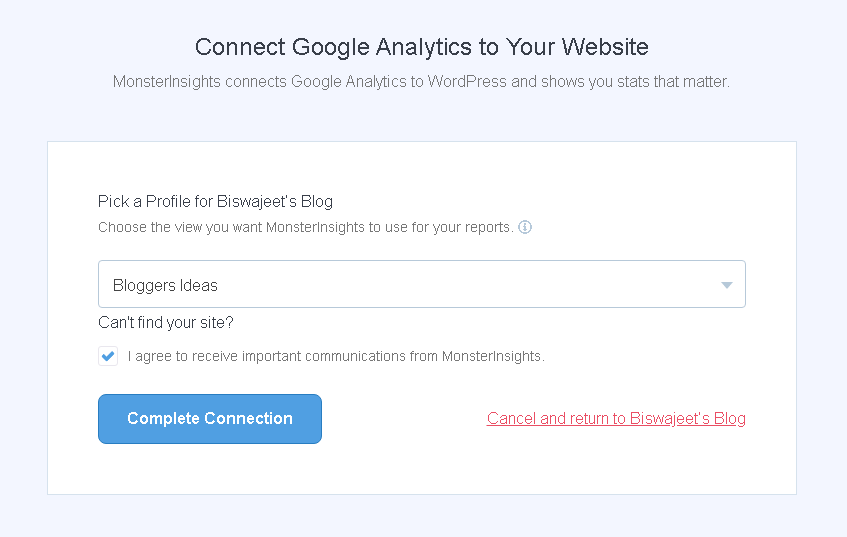
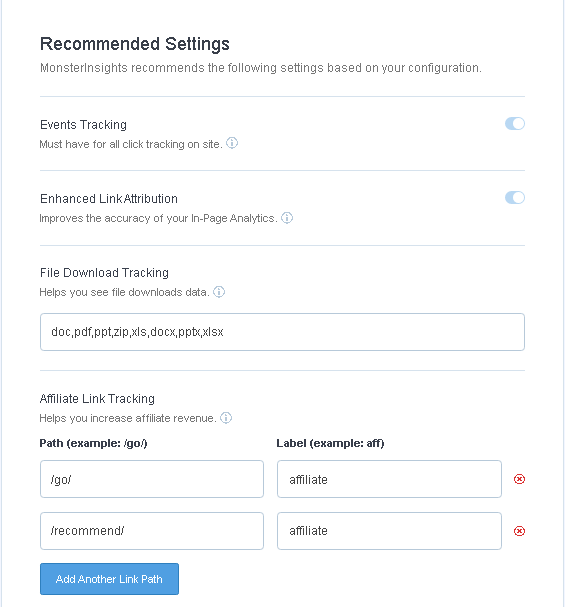
After connection done, MonsterInsights will now install Google Analytics on your website and asked you to select the recommended settings for your website.
You will get a list of features from which you can select to enable tracking. Scroll down and click on ‘Continue button’
After selecting continue, MonsterInsights will show you that you have installed Google analytics successfully.
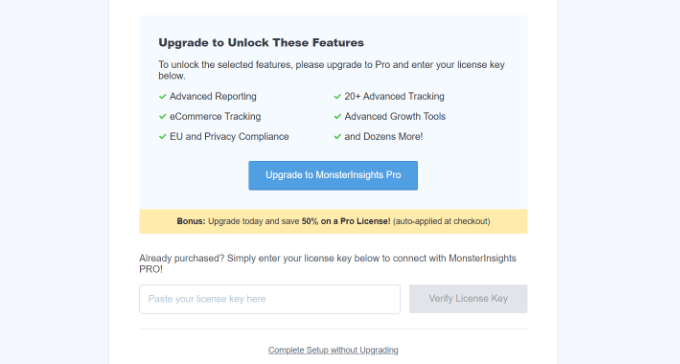
Click on ‘Complete setup without upgrading’ option and then you will receive popup ‘You have successfully added analytics to your WordPress website.
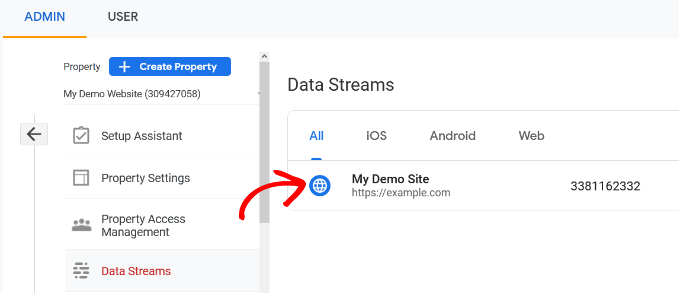
Next, you will need to generate ‘Measure Protocol API Secret’ code. Visit Google Analytics admin section and click on ‘Data Streams’ option.
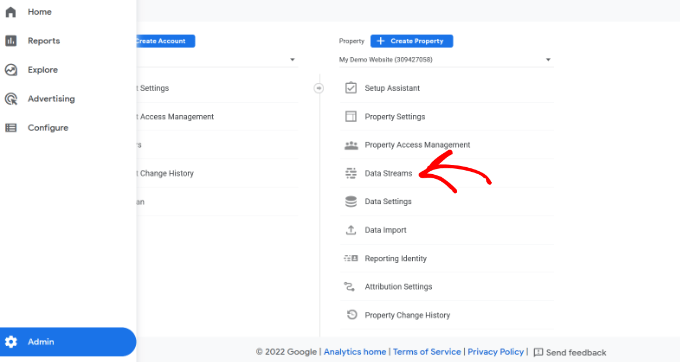
Next, Choose the stream you connected with MonsterInsights.
After selecting the Data stream, click on ‘Measurement Protocol API Secret’ under Events.
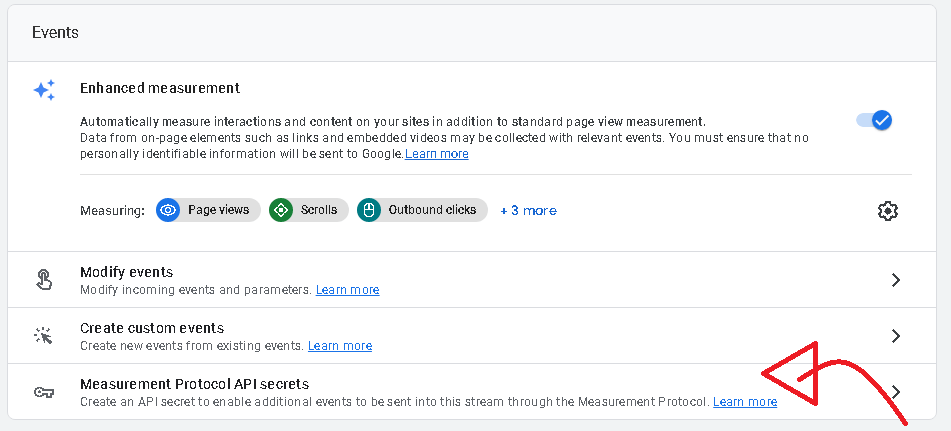
Next, Click on ‘CREATE’ button to create new API Secret Key.
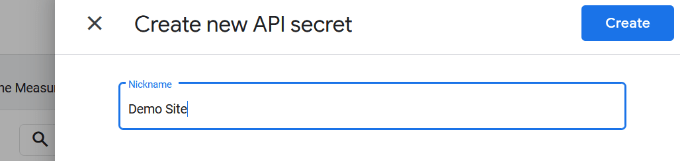
After clicking on ‘Create’ button, you will need to give Nickname for your API secret, once done click on ‘Create’.
Now, your secret API code generated.
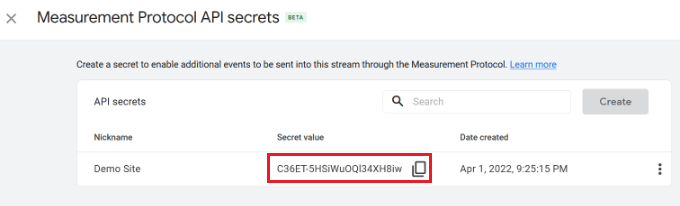
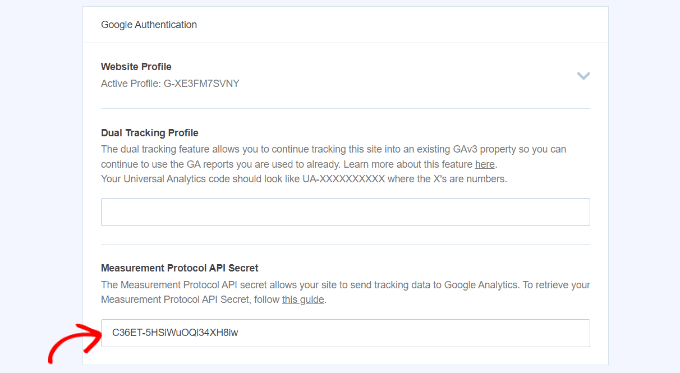
Next, you need to copy the secret value and enter into MonsterInsights after visiting Insights -> Settings in your WordPress admin panel and then click on General Tab.
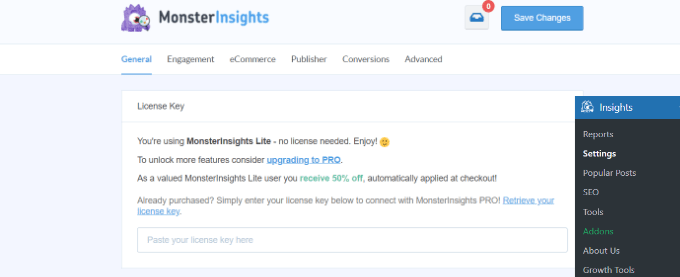
Next, scroll down and go to ‘Google Authentication’ section and paste the secret value in the field ‘Measurement Protocol API Secret’.
Method 2: How to Install Google Analytics Code Without Using Plugin
This method is for the Advanced user who are familiar with coding.
Note: I would not recommend to add Google Analytics through code because sometimes Analytics code deleted if you switch or update the theme.
Step 1 – Copy the Analytics code after visiting Admin section in your Analytics account.
Step 2 – You need to paste the code in your WordPress theme header file.
I am using Generate Press theme so, the below tutorial as per the Generate press theme.
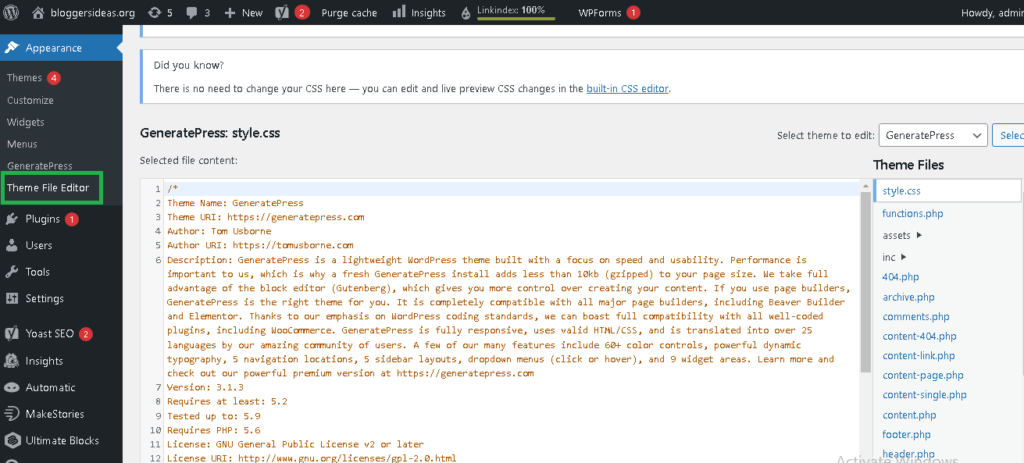
- Click on ‘Appearance’ Tab in your dashboard and then choose Theme file editor
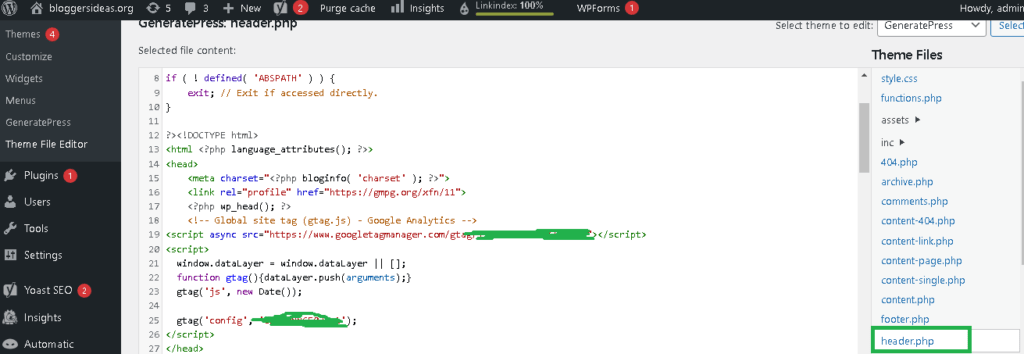
2. Choose header.php to paste code in between <head></head> and click on ‘Update’ button to Save.
Google Analytics is an amazingly incredible and powerful tool with tons of awesome features.